The Piano Refinishing and Polishing Process
Brigham Larson PianosShare
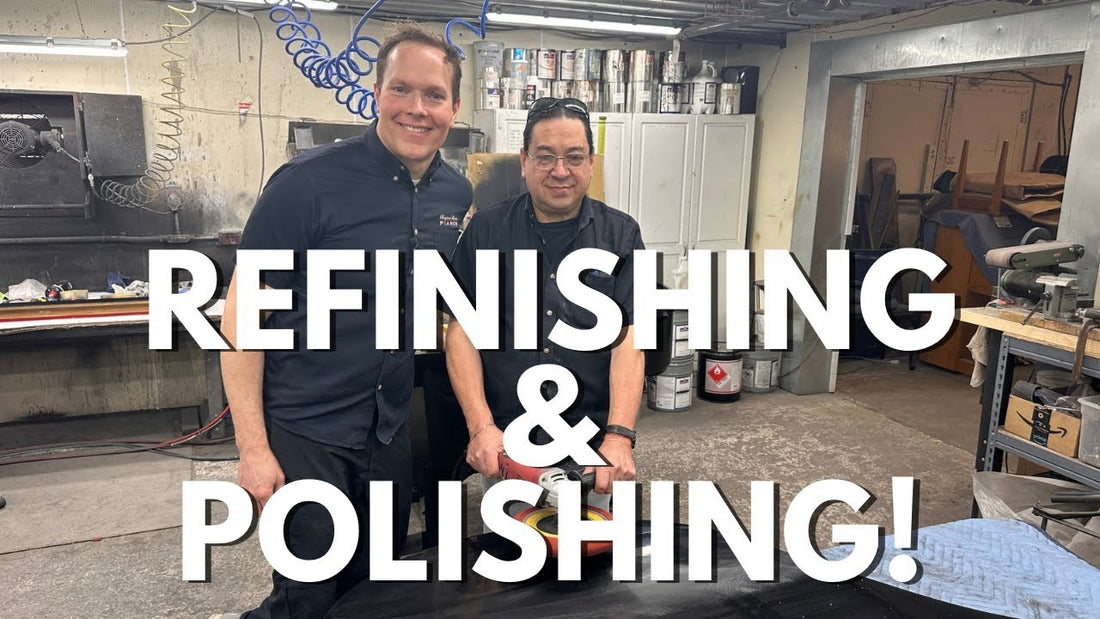
In this recent video we got the opportunity to peek into the shop and highlight the refinishing and polishing process on a Yamaha G1. Refinishing and Polishing is an intricate process, so I wanted to expand upon this video and give a deeper introduction into the art and science that’s needed to restore pianos to their former glory. It’s a delicate process that requires patience, skill, and a deep understanding of the instrument. So if you’re curious about how we take worn to wonderful… read on!
The Refinishing and Polishing Process:
1. Stripping the Old Finish
The first step in refinishing a piano is removing the old finish. We do this by using a combination of chemical strippers and manually sanding the old layers of varnish, stain, and accumulated dirt. This process must be done carefully to avoid damaging the underlying wood, but once completed you’ll expose the natural beauty of the wood and set the stage for the new finish.
2. Repairing the Wood
Once the old finish is stripped away, we inspect and repair the wood. This process can involve filling the cracks, repairing veneer, and addressing any other imperfections. In the case of our Yamaha G1, some areas required special attention to ensure a flawless final look.
3. Sanding
We use progressively finer grits of sandpaper; starting with coarser grits to remove any remaining fish and imperfections, then moving to finer grits to create a smooth, even surface. For the Yamaha G1, we used 1,000 grit sandpaper (the heaviest grit we use!) to achieve a perfectly smooth base.
4. Applying the new Finish
The application of the new finish is where artistry truly shines! For the Yamaha G1, we opted for a sleek black finish, but there are tons of colors you could choose from. We spray multiple coats of lacquer, allow each coat to dry, and then sand between those coats to ensure perfect finish.
5. Buffing
Buffing involves using a series of polishing compounds and buffing wheels to gradually bring out the shine. The goal is to eliminate any minor imperfections and create a surface that beautifully reflects light.
6. Detailing
This step ensures that every nook and cranny of the piano is polished to perfection. We pay special attention to areas around the keys, pedals, and other intricate parts of the piano to ensure a uniform shine.
7. Final Inspection
Finally, we meticulously check the entire piano for any spots that might need additional polishing or touch-ups. Only once we’re completely satisfied with the finish do we consider the job complete.
Why Professional Refinishing Matters
Refinishing a piano is not just about aesthetics; it’s about preserving the instrument’s integrity and extending its life. A well-refinished piano can maintain its beautiful sound and appearance, bringing joy to families for generations. At Brigham Larson Pianos, we understand the sentimental value of these instruments and strive to provide the highest level of care and expertise. If you have an old piano you’d think could use a new refinishing, learn more about our services here.
If you enjoy this type of content, feel free to check out more of our Piano Refinishing Blogs.
